
Soldering, the process of connecting different types of metals by melting solder, is a crucial skill for working on avionics, printed circuit boards, and other types of electronics. While soldering may seem like a daunting task at first, it becomes second nature after some practice! When you start soldering, be sure to incorporate these soldering tips and tricks to speed up the learning process.
1) Find a high-quality soldering iron
Soldering requires the use of a soldering iron, which is a hand tool that heats up to melt solder. Soldering irons can vary in price, ranging from a few dollars to several thousand! While most jobs don’t require such an expensive soldering iron, it is worth spending money (approximately $30>) for an adequately equipped tool.
When shopping for a soldering iron, look for these key features!
- Adjustable heat
- Quick heat-up time
- Solid build quality
- Switchable tip
2) Use the correct iron tip shape and size for the task
Soldering is a skill that has applications in many jobs and hobbies. Soldering irons are commonly equipped with switchable tips for flexibility. Differently shaped tips allow users to fine-tune the surface area that the iron heats. Common tip shapes include conical, chisel, and beveled. Depending on your task, it may be optimal to use a specific tip shape.
For example, PCB work with small solder pads is easiest with a small chisel-shaped tip, and a larger tip would be necessary to connect large pieces of metal or pipe. Before attempting soldering, do your due diligence and research the type of tip that would be best for the task!
3) Use the right solder for the task
Soldering is a task used in many industries, so consequently, there are many different types of solder.
The most used type of solder for modern electronics is lead-free rosin-core solder. A leaded solder is an option for those seeking easier-to-melt solder. For example, leaded 60/40 solder (meaning 60% tin and 40% lead) is a widely used variant but is falling in popularity for health concerns around lead content.
Avoid acid-core solder for electronics as the acid content will destroy circuit parts! This type of solder is used for larger-scale jobs like plumbing and metalworking.
We highly recommend using the thinnest type of solder you can get away with for your specific task. Using the thinnest solder possible is better for precision and lessens the chance of spilling too much solder onto your joints.
4) Tin and clean your iron tip
To “tin” your soldering iron tip, simply add some solder to coat the tip before making contact with your device.
Also, remember to clean your tip during your soldering session regularly. Before use and in between connecting joints, thoroughly wipe your soldering iron tip on a wet sponge, a copper scouring pad. Periodically cleaning your tip will help your iron transfer heat and maximize the tip’s lifespan.
5) Apply heat properly
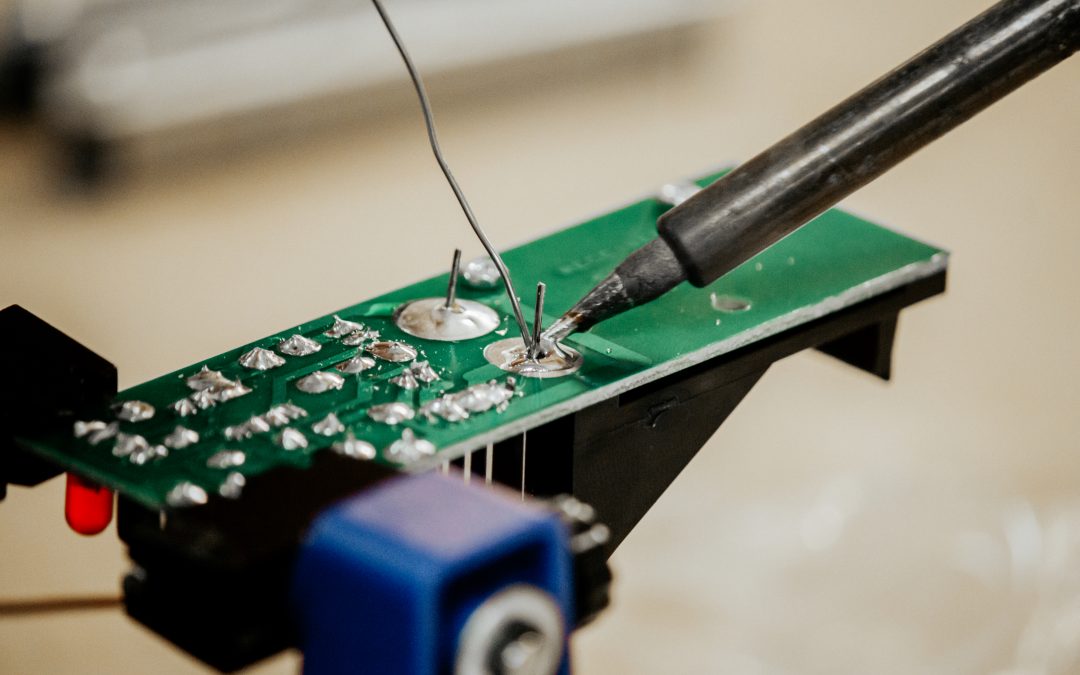
Sequence your actions correctly for the best soldering results! We recommend to apply the iron tip to the joint first. Once that point of contact is sufficiently heated, add solder and allow it to spread. Remember to do this sequence as quickly as possible – holding your iron on the joint too long can fry a solder pad or component!
6) Let a solder joint cool on its own
While it may seem like a good idea, do not blow on your cooling solder joint. Blowing on a solder joint while cooling may result in the joint cooling too fast, crystallizing, and becoming brittle. This may end up creating a cold joint or an ineffective connection. Pull your iron away from the connection to finish a solder joint. If you’d like to reflow the joint, wait until it has sufficiently cooled.
7) Inspect your solder joints
After creating a solder joint, always inspect it. A poorly made solder joint can result in noise or failure in the final electronics circuit. Additionally, locating a single point of failure in a finished circuit can waste significant amounts of time.
Thankfully, most solder joints will be functional! A good solder joint will have a shiny finish and not too much solder. A dry joint (also known as a cold joint) will have a matte finish resulting in a weak connection or structure. Too much solder increases the likeliness of the joint breaking or spilling over onto another part of the circuit.
If you’ve created a bad solder joint, simply reflow the solder or remove it outright and try again!
Tip: If you’re ever unsure about the status of a solder joint and do not want to reflow the joint, you can test its connectivity with a multimeter.
8) Use proper ventilation / fans / PPE
When starting out soldering, good safety habits go a long way. The process of soldering results in solder fumes that, if regularly inhaled, can be very detrimental to your health. This is especially the case if using solder that contains lead. To maintain your safety and health, make sure any area you solder in is well-ventilated and has some sort of fan or solder fume extractor running!
Solder fumes can also be detrimental to your eyes, so be sure to keep your face away from soldering areas and wear some form of eye protection.
Additionally, avoid touching the soldered elements of your soldering iron, and always wash your hands with soap and water after soldering.
For a look into general aviation maintenance safety, check out this article.
9) Practice!
Soldering is a relatively simple task but still requires practice! Try training with simple wire joints or simple circuits before approaching crowded PCB circuits or intricate point-to-point construction. Some great beginner projects include putting together a light switch circuit or creating a USB cable.
By utilizing these soldering tips, you’ll quickly be on your way to creating awesome projects! If you’re looking to get deeper into the avionics world, check out our helpful guide on avionics tools for beginners.